How to Install a Cupola
Once you’ve chosen your cupola, it will be shipped directly to you. The next step is to choose whether you or a contractor will be installing your cupola. If you decide to install your own cupola, here are the things you need to know.
Cupolas are generally made up of three major components: the base, the body, and the top. Additional pieces can be added to a cupola, such as a weathervane, however, for this guide we will focus on the three main components.
Tools & Supplies
Pencil
Tape Measure
Utility Knife
(2) boards: 1″x 3″ (Used to calculate roof pitch)
(4) 2″x 4″ boards
Bag of Screws That Come with Cupola3″ Lag Screws & Washers
(8) 3″ Lag Screws & Washers
Waterproof Caulking
Saw
Drill Gun
Screw Gun
Flathead Screwdriver
Wrench
Level
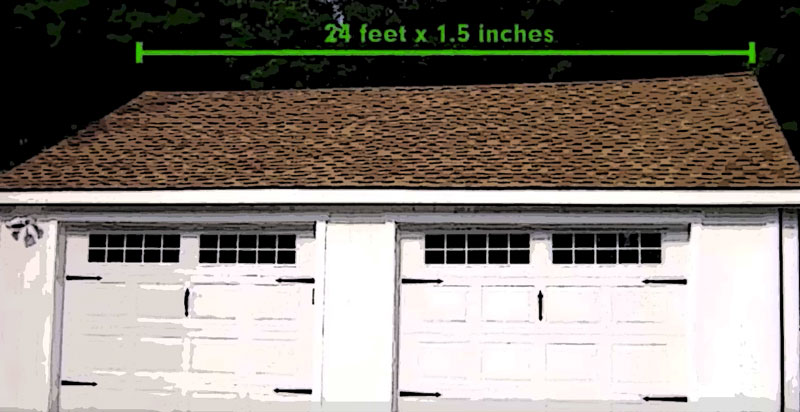
1. Make sure you have chosen the correct size cupola for your roof. There is a formula that you can follow in order to determine what size cupola to get.
1.5 inches (of cupola) times the feet of the roof line
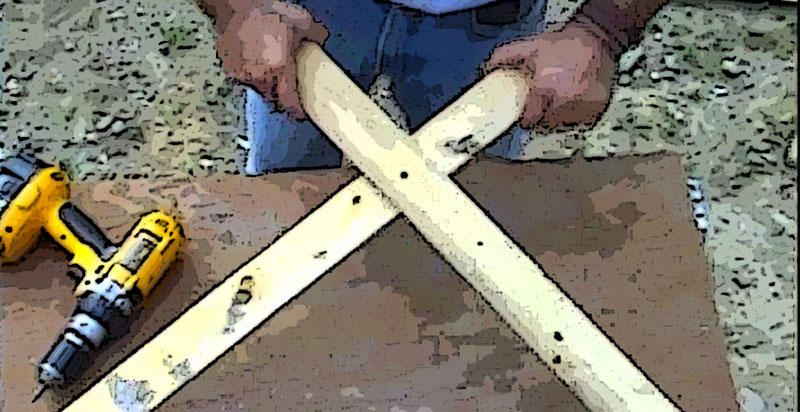
2. Measure the roof pitch using the two 1″ x 3″ boards. With your screw gun, attach the two boards 3/4 to the top with a single screw. Make sure the two boards can still move back and forth (pivot).
3. Find the center of your roof life and mark the width of your cupola.

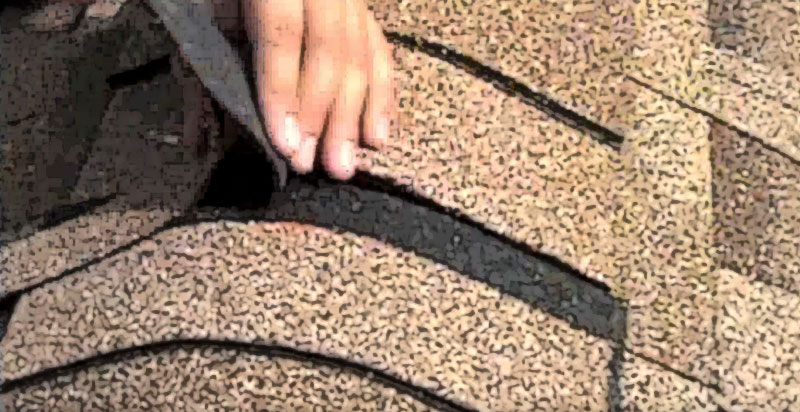
4. Before you measure the roof pitch. Cut the ridge cap. Using a utility knife, cut back a shingle. This is to ensure that the cupola will sit evenly on the roof ridge.
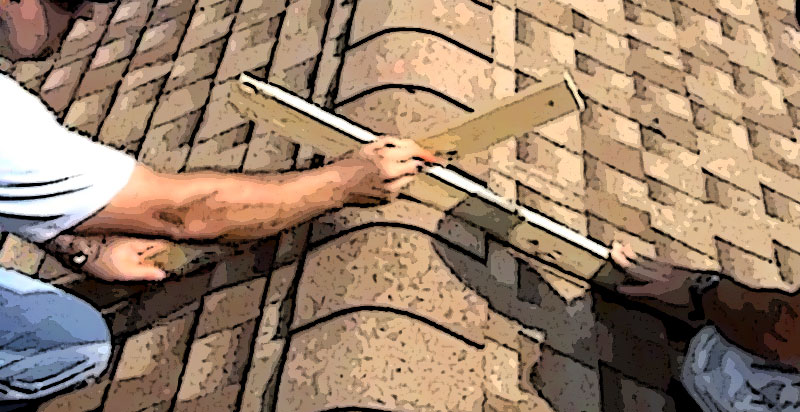
5. Place the roof pitch tool flat against the cut of the roof ridge. Make sure that the tool is centered. The pitch tool will serve as a cutting template. Using a pencil or marker draw on the pitch tool to mark the angle that will be used to determine the edge of the cupola base.
6. Mark the base of the cupola. Start with making a small center line at the bottom and top of the base. Now using your pitch tool template, center the angle with your center marks. Using a pencil, draw the angle on the base. This is the cut you will use to match the angle of your roof.
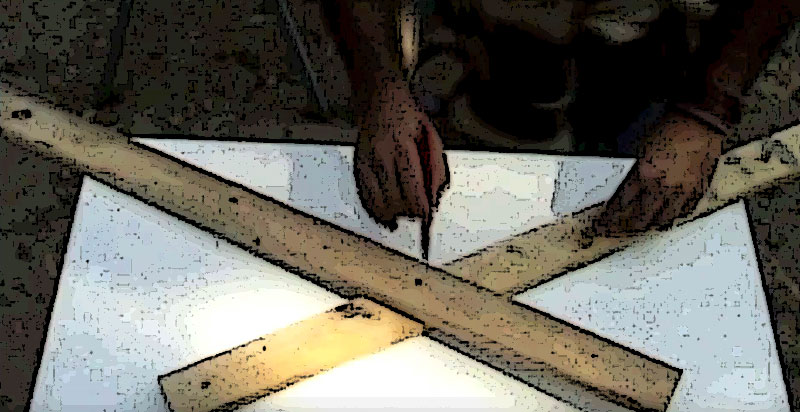
7. Using your saw, cut the guides that you drew on the base. Start from a corner and end your cut in the center. Repeat on the opposite side.

8. Using your drill gun, drill holes in your (4) 2×4 boards. The 2×4’s will be used to secure the base of the cupola to the roof. The pre-drilled holes will make it easier when drilling them into the roof.
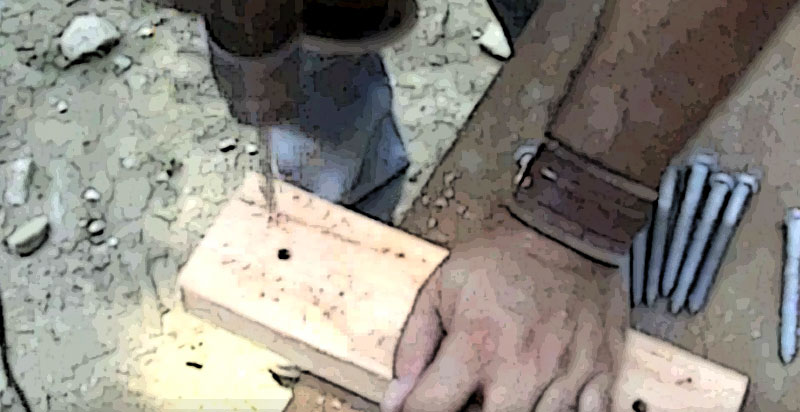
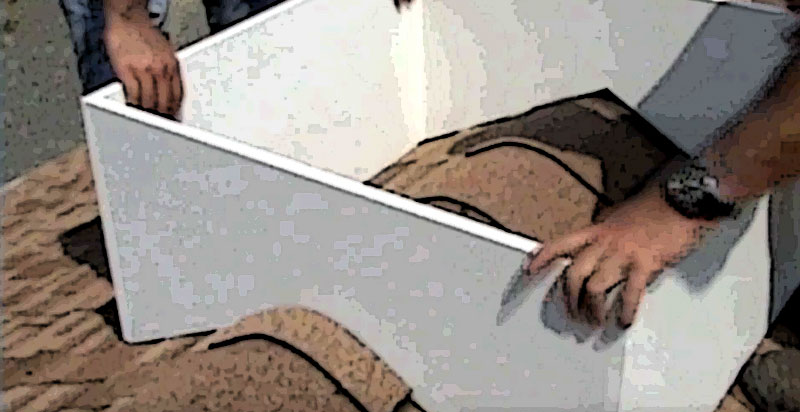
9. Place the base on the roof before you screw in the 2x4s. Use a level and set it on the edge of the cupola to ensure that it is leveled.
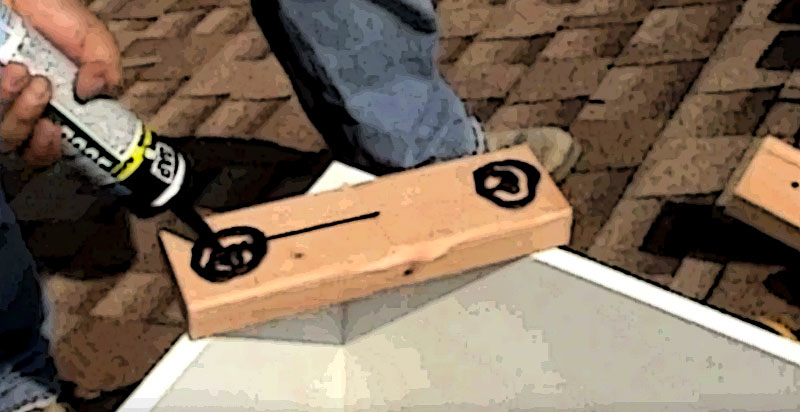
10. After your cupola base is set, centered, and leveled, begin the use of your pre-drilled 2x4s. Apply caulking to a 2×4. On the inside of the base against the interior wall, set the caulked side of the 2×4 onto the roof.
11. After you have set one of the caulked 2x4s, use the 3″ lag screws and screw into place.

12. Do steps 10 & 11 for the remaining 3 2x4s. The end results should be 4 set 2x4s that are located opposite of each other on each slope against the interior of the cupola’s base wall.
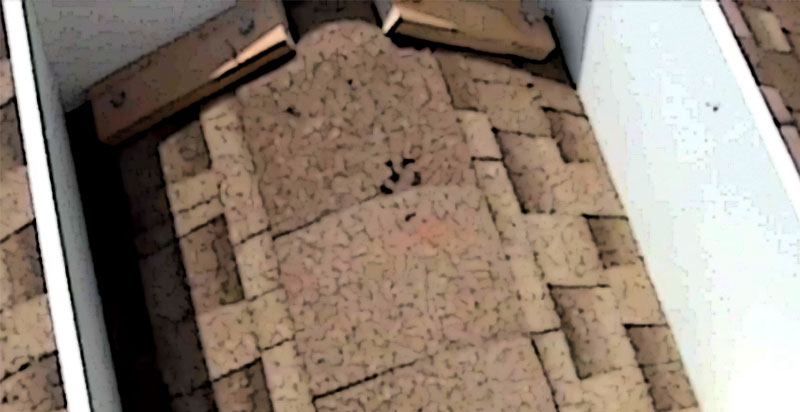
13. Now we can start securing the cupola base by screwing it to the 2x4s. To do this, drill pilot holes into the side of the cupola base. After you have made your pilot holes, drill screws through the base into the 2x4s. Each 2×4 should have 2 screws screwed into it.
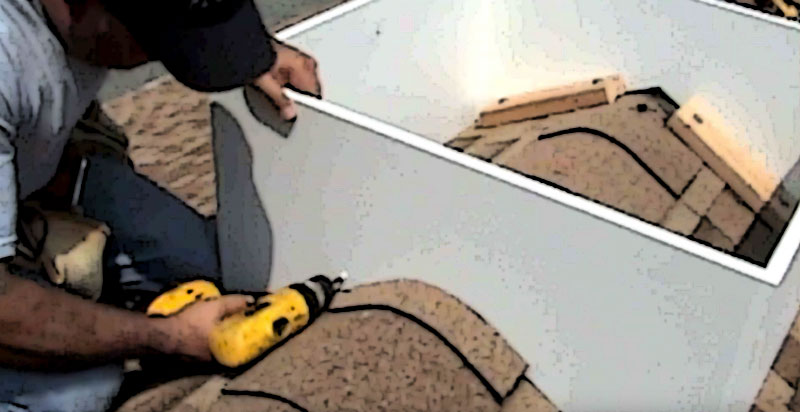
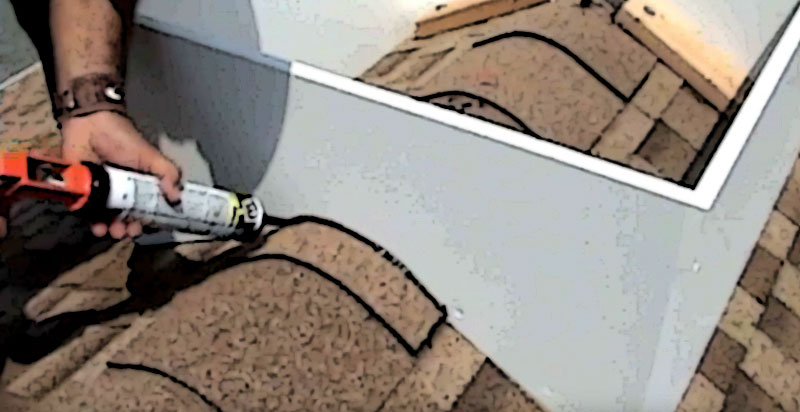
14. Next you will want to seal the base using waterproof caulking. You will only need to do this on the ridge of the roof. Apply the caulking along the base and the angle of the roof on both sides.
15. After you secure the base, you are now ready to add the mid-section of the cupola. Line the mid-section (body) of the cupola with the pre-drilled holes that can be found in the base and the body. Using the screws that came with your cupola screw the base and body together.
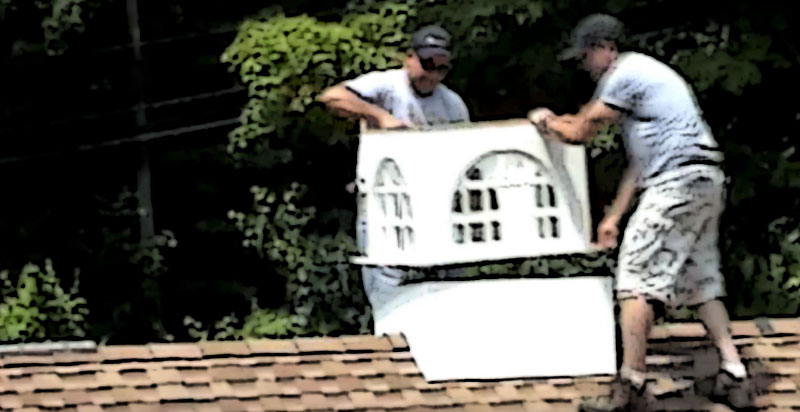
16. After you’ve secured the body, you are ready to add the roof top of the cupola. Using the same method used on the body. Use the pre-drilled holes the cupola came with and attach the roof.
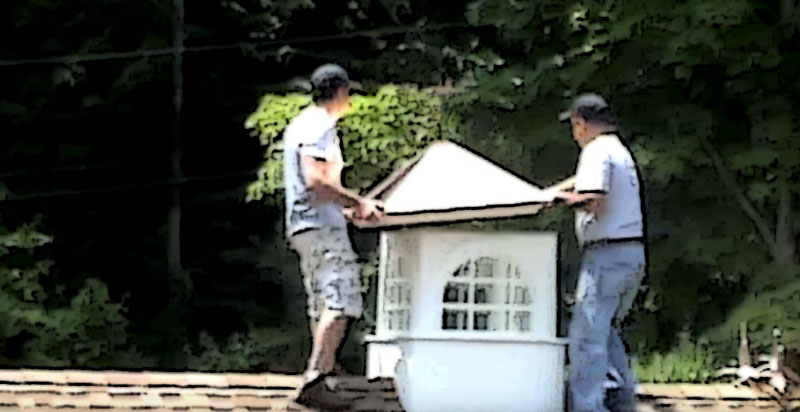
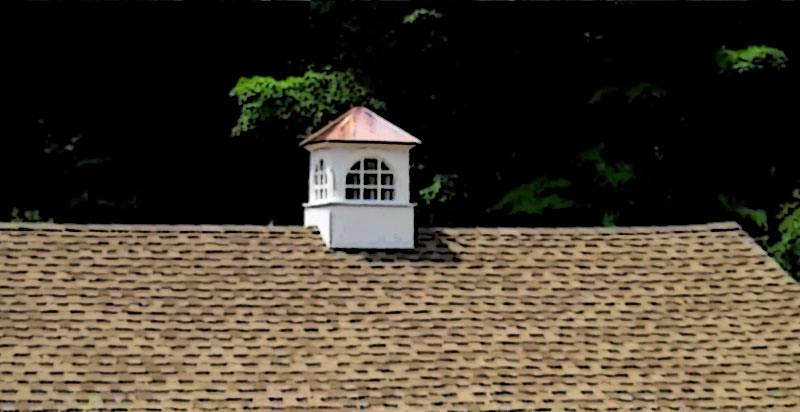
Now your cupola is complete. If you would like to add a weathervane to your cupola, know that all of our cupola roofs have an area that a weathervane can be attached.
#1 Selling Amish Country Cupolas of All Time
With an skilled Amish craftsmen, you can get your very own custom cupola shipped right to your front door.
